


Monday, March 21, 2011

Organize Your Ideas

Inspired by several recent blog posts, I have decided to join those who are tackling the paper monster.


Mine was sooo bad that I couldn't see my laundry room counter.


Taking advantage of being snowed in, I also got my taxes done & did some organizing in my idea binder.


That's one area I am quite good at keeping up on.


So I thought I would share my organizational system with you.


It's kind of like Pinterest but a little more tactile. :)


Keep in mind, I don't like to save magazines.
(Except for Mary Jane's Farm & Backpacker)


They take up too much space.


I remove what I am interested in and recycle the rest.


#1 box is for magazines yet to be browsed.


#2 box is for all the things that I liked and ripped out of the magazines.


(or things I printed off the internet or ideas from friends, etc, etc)


I also store my plastic sheet protectors in box #2.


I decorated a plain white 3 ring binder.


(The bigger the better, more room for all those ideas)


Now you need to label some dividers, I used the following categories:


Gardening


Decorating


Organizing


Keeping


Holidays


Gifts


Good Things (It's a great misc. category)


I also have a tab for my Farmgirl Sisterhood Stuff.


I don't do any recipes in this book because I have a separate binder just for recipes.


I then sort through box #2 and make piles according to the categories.


I slip the pages into the sheet protectors; or if they are too small, glue them to a sheet of white paper first.


I will also trim the edges a bit just so the pages look neat.


Then just put your sheets in the proper place & there you go!


At the very front of my binder I have my "bucket list" journal & my Farmgirl Sisterhood membership certificate.


I love organizing all my inspiration.


It's like having your very own custom magazine.


Good Luck tackling the paper monster!
Now I am off to tackle the mountain.....of laundry.

Sunday, March 20, 2011

Dollar Store Spring Wreath

This project seriously took me about 15 minutes.

I just hot glued some moss on a dollar store wreath, added some plastic eggs & a little bird ornament.
Wreath & moss from the Dollar Tree.

Eggs from Micheal's.

Bird ornament from Pottery Barn's holiday super clearance.

I love Pottery Barn clearance.
I hung them in my dining room windows.
I can't wait to show you the whole room, when I am finished.
This morning poor Bay had a Dr's appt at 8am in town but we are stuck in our driveway.
Happy - because I don't have to go anywhere this morning. More time to play.
Unhappy - because Baylee seems miserable. (Her wisdom teeth wounds are still bothering her.)
My poor husband is outside right now on snow patrol.
Wish me luck, that we get out of here at some point today. :)

I am linking up to:

30 Handmade Days
&

monogram

Egg-Spiration

It's snowing here today.
I am bored.
Decided to get out the spring decorations.
I wanted to give my plain bag of plastic eggs a little umph.
So I made some inspirational eggs.
I printed out some inspirational words on craft colored paper.
Cut them out, glued them on with a little mod podge, let them dry, & then I added a layer of mod podge over the top.
The bag of natural colored eggs came from Micheal's.
I used gloss mod podge because that's what I have but I am thinking matte might look better.
Super easy!
So excited to finally have a little spring, even if it's only indoors!
I am linking up to:

I Can Use My Camera!!!

My dear friend Joni, who has become an amazing photographer, hosted a camera/photo class for our little Farmgirl group.
Thank goodness because I have had my camera for 9 months now & I had no idea what 98% of the buttons were for.
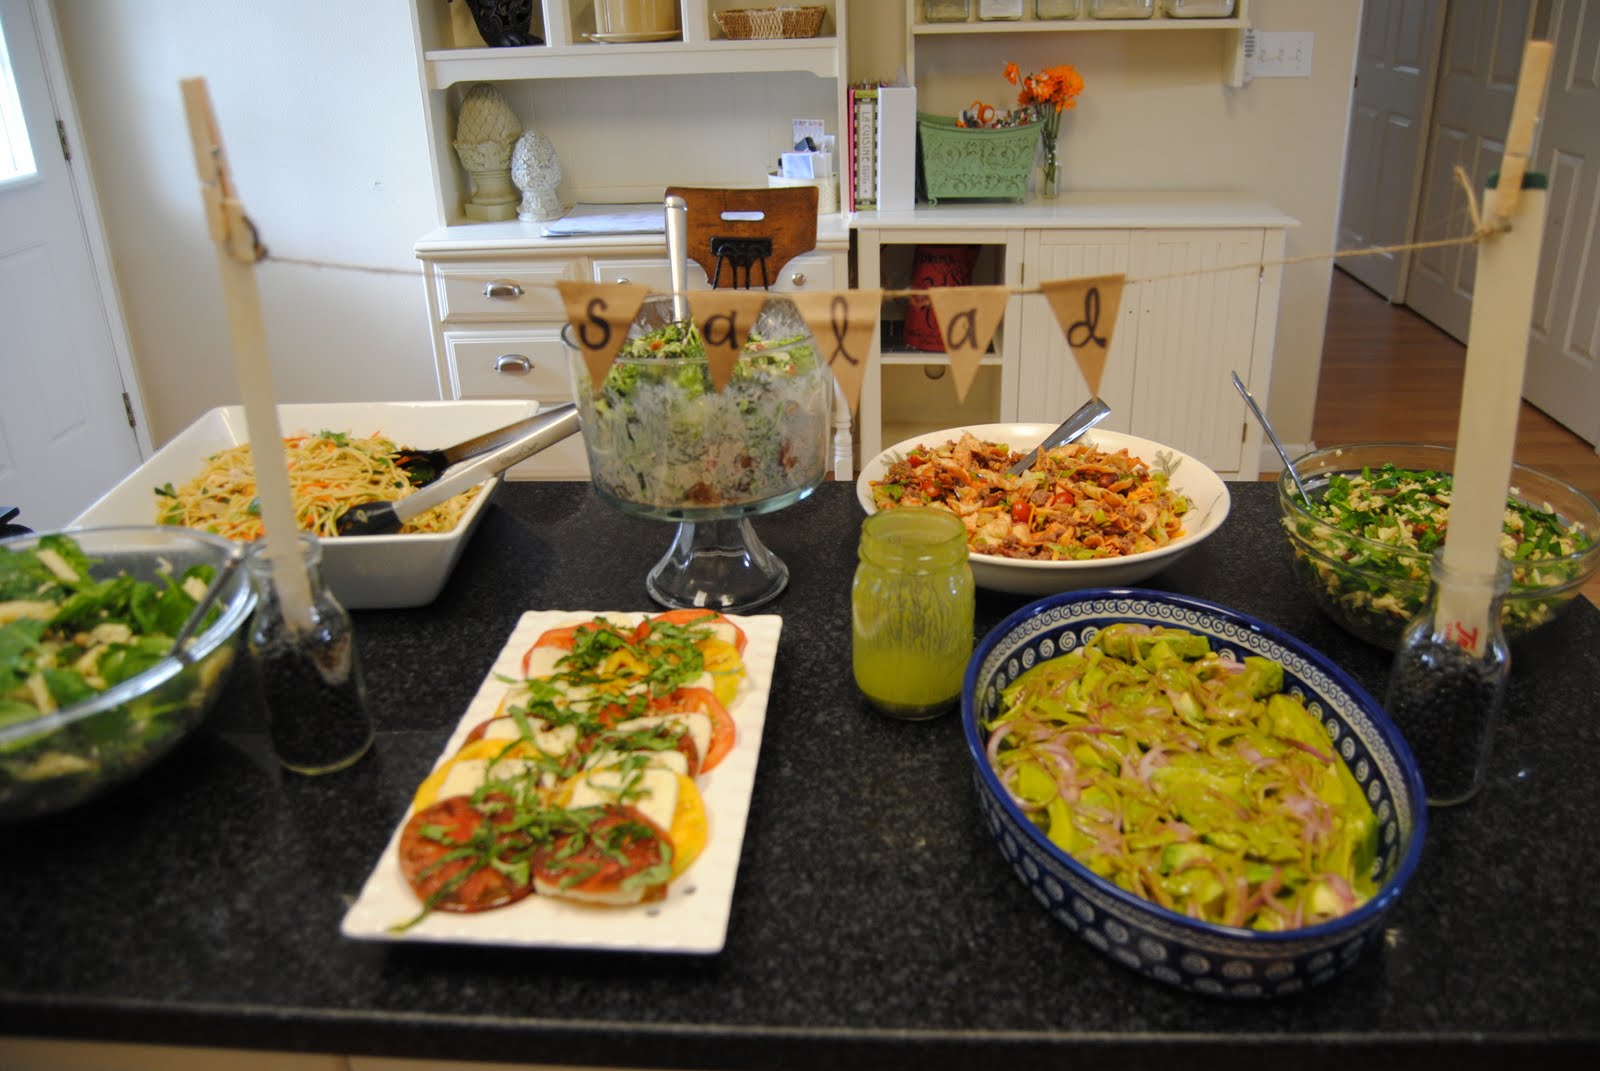
Of course, in typical Farmgirl style we had to have a little food first.
Yummy salads!
She even made us reference guides!


I learned sooo much about my camera & I am sooo excited to try all the things that I have learned.
Thanks J for taking the time to teach us & to help us earn our Shutterbug badge!

Friday, March 18, 2011

My Kind of Sunday

This past Sunday we took a family group hike to the top
of Black Mountain!
We had a fabulous docent Tyler Wright who helped us identify our local flora and fauna.
It was 5 miles round trip, climbing several large hills.
I was so proud of all the young ones who were such troopers!
All the kidos in our group.
The views from the top were breathtaking.


Amazing spot for a picnic!
I really love were we live.
We are surrounded by such beauty & there are so many great places to hike!
Couldn't imagine a better way to spend a Sunday morning.

Thursday, March 10, 2011

Oatmeal Chocolate Chip Cookies

Cream together 1 cup softened butter, 1 cup white sugar,
& 1 cup brown sugar.
Add 2 large eggs, 2 tsp vanilla extract.
In a separate bowl mix together 3/4 cup flour, 3/4 cup wheat flour, 2 heaping tbls. wheat germ, 1/2 tsp. baking soda,
1/2 tsp. salt.
Add the dry ingredients to the wet.
Stir in 3 cups rolled oats, 1 cup chopped pecans
& 2 cups chocolate chips.
Bake in a 350 degree oven for 12-15 minutes.
We had these for snack today after school.
:o)
I feel a little guilty for making these today.
Bay had her wisdom teeth out and she was feeling bad that she couldn't have any.
Poor little chipmunk cheeks is hungry.
I think I will go put some in the freezer for her.

Sunday, March 6, 2011

It's Time To Get Your Garden On

If you are thinking about planting a spring garden, now is the time!
There are MANY cool weather veggies that like to be planted 6-8 weeks before the last frost.
Here are some of my babies ready to be planted.
Planting day organization.
I use graph paper to map out where everyone is going to be planted.
I do all my research before I make my map.
You have to make sure that everyone in the same bed will get along. :)
The one thing I didn't plan for.......a wet & cold planting day.
Here's my adorable assistant.
She has about 20 layers of clothes on.
Yes, that's still snow on the ground.
We prepped all the beds by adding a generous layer of our homemade compost, and tilling it all in with a pitch fork.
I turn most of the soil in the bed over, making sure to break up any lumps.
I smooth it all out with a rake and then begin planting.
My assistant was in charge of the peas n 'carrots bed.
She loves peas n' carrots.
When the peas get bigger we will use the stakes at the end of the bed & some twine to make a lattice for them to grow up.
My other assistant.
We found a TON of these guys in our beds.
I LOVE it!!!!

We prepped & planted 4 beds today.

I saved the others for succession planting.

It was wet, mucky, cold & muddy but we will reap the rewards in a few months.

We planted kale, swiss chard, lettuce, peas, carrots, & radish.

I tucked my babies into their beds using floating row covers.
They protect my babies from frost, insects, birds & heavy rains.
You can find them at Intermountain Nursery or any online garden supply store.
I personally LOVE Peaceful Valley Farm Supply!
Happy Planting!